How to Copy Data Between Two Linux Servers Using Root Access (With Resume Support)
When migrating data between Linux servers, unstable internet connections or SSH drops can interrupt long transfers. A professional migration strategy must support automatic resume without re-copying data.
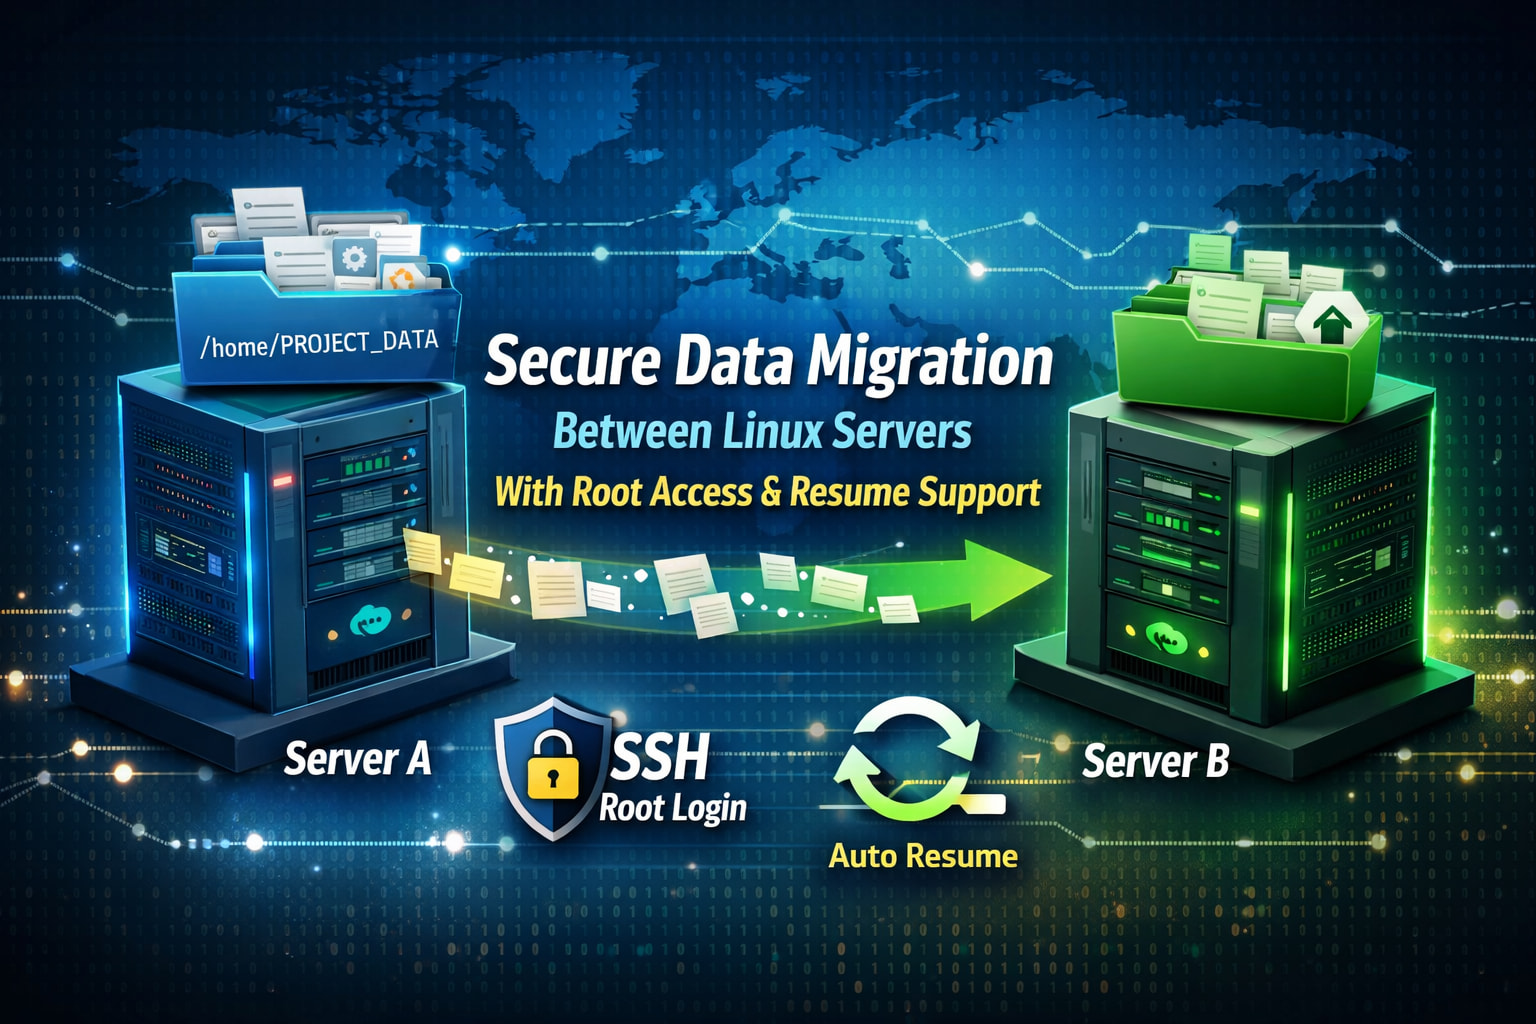
This guide explains how to securely copy data from Server A to Server B using root access over SSH, while masking sensitive details and ensuring transfers resume seamlessly if connectivity is lost.
Scenario Overview
-
Source server (Server A) Directory to copy:
/home/USERNAME/PROJECT_DATA -
Destination server (Server B) Target directory:
/home -
Access method: SSH (root)
-
Server IP address: Masked (e.g.
XXX.XXX.XXX.XXX) -
Connectivity: May be unstable (resume required)
Why rsync Is Ideal for Unstable Connections
Unlike scp or FTP, rsync is designed to continue exactly where it stopped. If the internet drops, SSH disconnects, or your terminal closes, you can simply rerun the same command.
rsync provides:
- Delta-based transfers (copies only missing parts)
- Partial file preservation
- Resume support for large files
- Verification of already transferred data
Step 1: Enable Root SSH Access on the Destination Server
On Server B, edit the SSH configuration:
nano /etc/ssh/sshd_config
Ensure root login is temporarily enabled:
PermitRootLogin yes
Restart SSH:
systemctl restart sshd
Root login should only be enabled during migration.
Step 2: Start the Transfer With Resume Support (Run on Server A)
Use the following resume-safe rsync command:
rsync -avzP --partial --inplace \
/home/USERNAME/PROJECT_DATA \
root@XXX.XXX.XXX.XXX:/home/
Important flags explained:
-apreserves permissions, ownership, timestamps-vverbose output-zcompresses data-Pshows progress and enables partial transfers--partialkeeps partially transferred files--inplacewrites directly to destination files (faster resume)
![]() If the internet disconnects, rerun the same command and rsync will continue automatically.
If the internet disconnects, rerun the same command and rsync will continue automatically.
Step 3: Protect Long Transfers With screen or tmux (Recommended)
To avoid losing progress when your SSH session closes:
screen -S migration
Run rsync inside the screen session, then detach:
Ctrl + A then D
Reconnect anytime:
screen -r migration
Step 4: Verify the Transfer After Completion
On Server B:
du -sh /home/PROJECT_DATA
On Server A:
du -sh /home/USERNAME/PROJECT_DATA
Matching sizes confirm a successful and complete transfer.
Step 5: Secure the Destination Server After Migration
Once the data is confirmed, disable root SSH login again:
nano /etc/ssh/sshd_config
Set one of the following:
PermitRootLogin prohibit-password
or
PermitRootLogin no
Restart SSH:
systemctl restart sshd
Best Practices for Reliable Server Migrations
- Always use
rsyncinstead ofscpfor large data - Use
--partialand--inplacefor resume safety - Wrap long jobs in
screenortmux - Verify disk space before starting
- Mask IPs, usernames, and paths when publishing guides
- Keep backups before migration
Conclusion
A reliable server migration must assume network interruptions will happen. By combining rsync’s resume capabilities with SSH root access and proper security practices, you ensure data moves safely, efficiently, and without restarting from zero.
This method is trusted across VPS, shared hosting, and enterprise Linux environments.